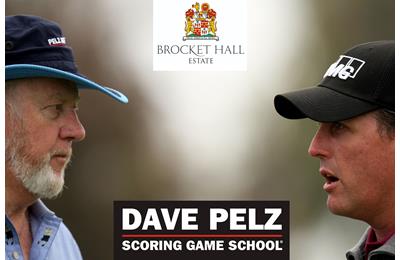
World renowned Dave Pelz Golf School rolls into Brocket Hall
Written by Ross Tugwood on Friday 22 December 2023
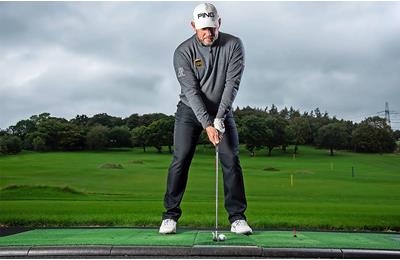
Brocket Hall added to 2024’s European roster of premier clubs offering the shot-saving Dave Pelz Scoring Game School. *This is an ‘advertisement feature’ in association with the Dave Pelz Scoring Game School* Fixing your short game can feel like a never-ending quest throughout your golf journey. Reading the lie, selecting the wedge, stance, ball positioning, weight distribution, trajectory, landing area – I’ve not...